How to Block an Asymmetrical Crescent Shawl – Tutorial
This knitting tutorial will teach you how to successfully block an Asymmetrical Crescent Shaped Shawl.
Blocking should not be intimidating, and one of the things that I like about shawls, is that blocking does not need to be perfect, unlike a garment where it does, assuming you want it to fit :).
You should have fun with it, be creative, what works for one person may not work for another, so find what works for YOU.
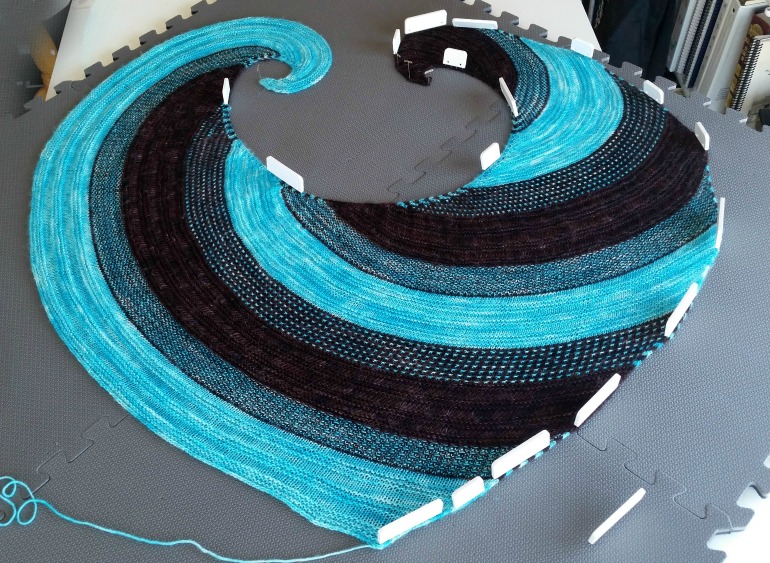
For the purpose of this tutorial we will be using my Ride the Whirlwind Shawl.
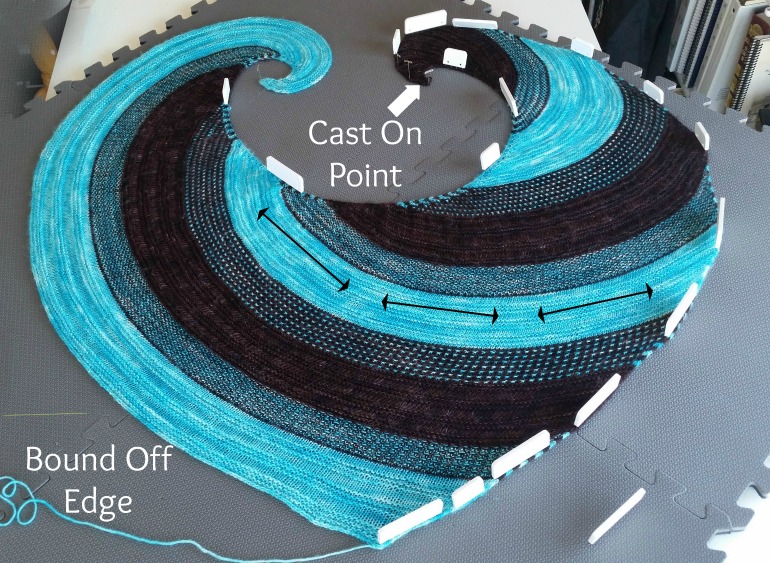
The “swoopy” shape, yes, that is a technical knitting term, of this pattern is achieved by increasing two stitches at the beginning of every right side row, decreasing one stitch at the end of the row and then increasing one stitch at the end of every wrong side row.
The double arrows indicate the direction of the knitting.
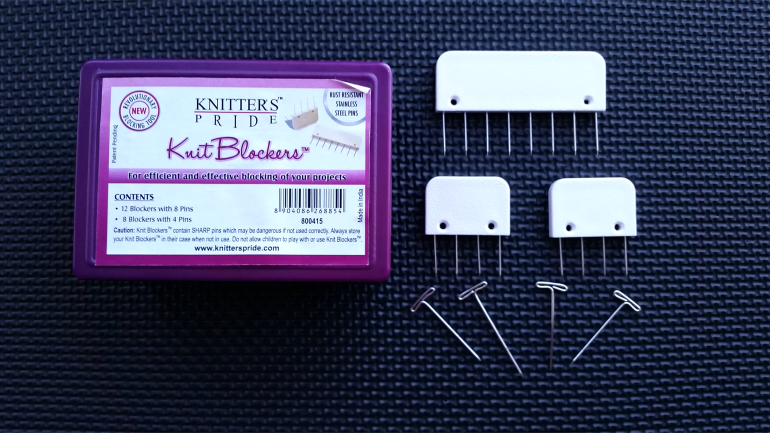
Blocking Tools
My go to tools are T-pins, Blocking Mats, Knit Blockers and blocking wires.
For years, I blocked my knitted items on the floor using lots of towels and pins. I found this method to be very uncomfortable and as I have gotten older even more so.
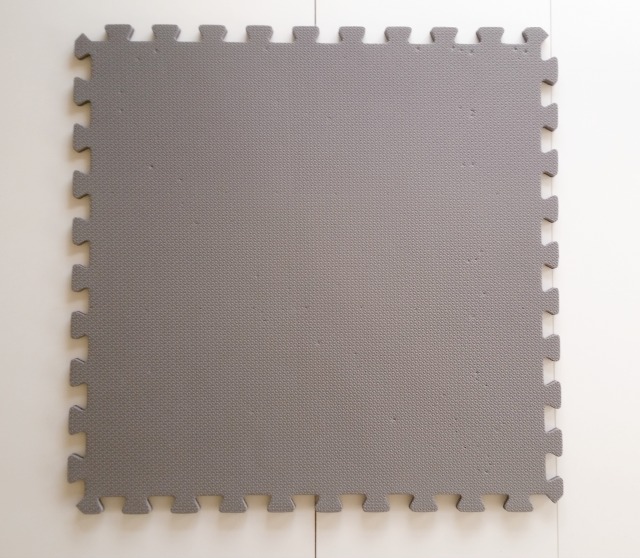
I started looking on line for an alternative method and found Blocking Mats. Being the thrifty shopper that I am, I eventually found the mats pictured on the left on line at Home Depot. They were twice as big as the ones I found on knitting sites and a lot less expensive.
I set up the mats on my large craft table and block away. The pins go in and come out easily and the dampness from the piece does not seep through the mat.
Knit Blockers are great because they have multiple pins in them and allow you to block a larger area more evenly than individual pins do.
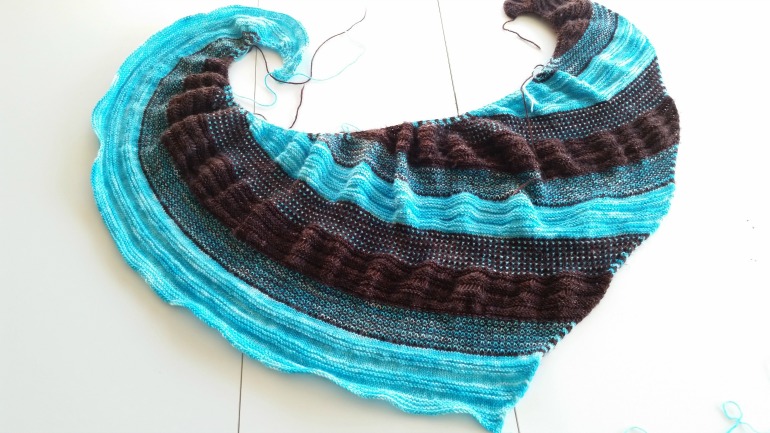
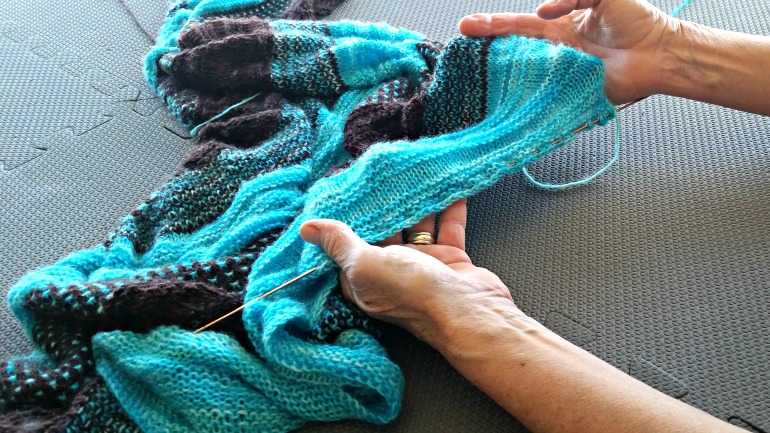
Before I soak my shawl and begin to block it, I like to lay it out and see what the general shape looks like and where I might need to be a little more aggressive in my blocking.
Looking at this picture, you can see the dark brown sections are a bit “wavy” due to the Dropped Stitch pattern I used. This is a place where I will want to be more aggressive so that the shape fits with the rest of the shawl’s patterns.
Once I have soaked the shawl and rolled it up in towels to remove as much of the excess water as possible, I will lay it out on my Blocking Mats in the general shape I want.
Not all shawls of this type are shaped exactly the same, but you should be given a schematic on your pattern showing the final shape as well as the dimensions.
You can work to block your shawl to the pattern’s measurements, but again, perfection is not what we are aiming for.
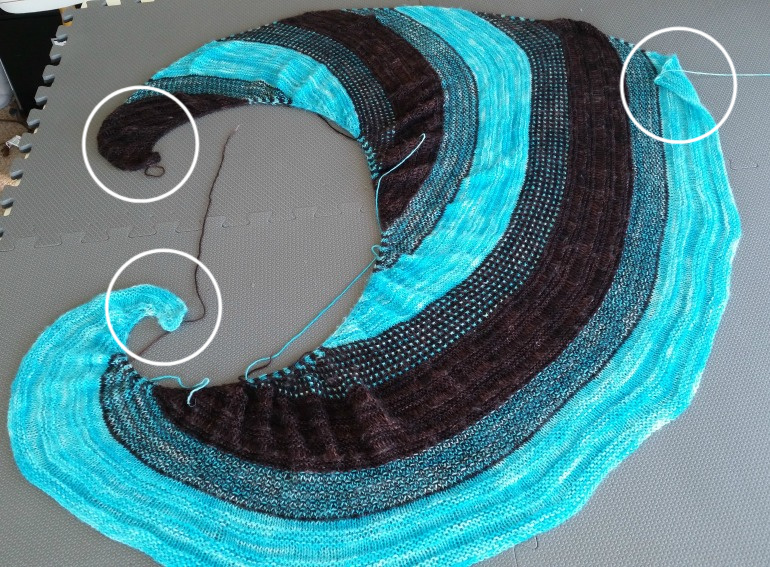
On Ride the Whirlwind, the two ends curl inward, and the pointy end at the bottom of the shawl gets blocked out to a, well, a point :).
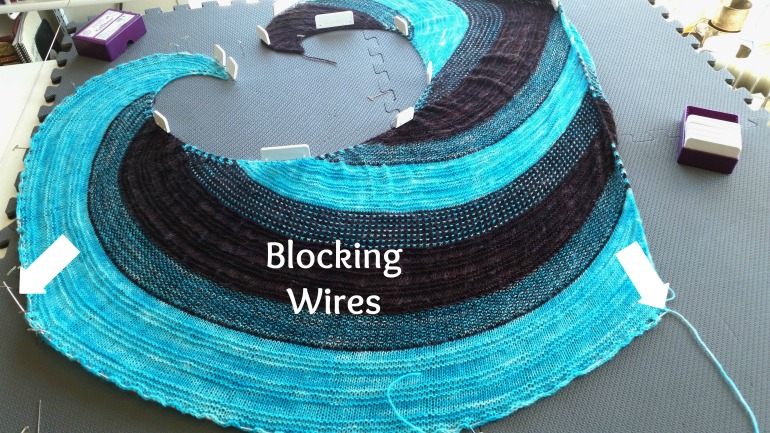
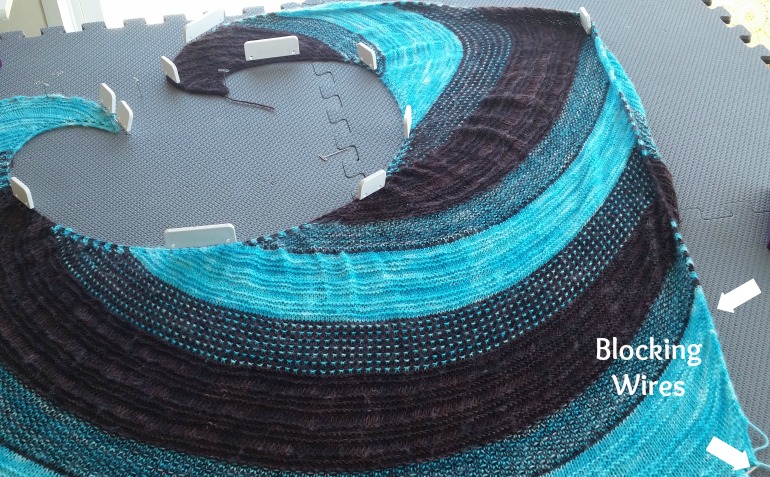
After laying out the shawl, I decided to use my blocking wires, which are thin and flexible, to shape the two long edges.
The wires allow you to more evenly shape an edge, unlike pins, which may cause puckers here and there (this is not to say that pins should not used). Wires also make it easier to stretch an area uniformly.
In this picture, I used the bottom blocking wire in conjunction with the knit blockers at the top to shape and stretch the area in between. The blocking wire on the right allowed for shaping in that direction. I will also use T-Pins to hold the wires in place.
If you do use blocking wires, I find it works best to weave them through the stitches rather closely. If you leave big gaps, you won’t get as smooth of an end result.
After manipulating the shawl for a while, pulling it this way and that, re-positioning the wires and holding them in place with pins, I found that I did not want to keep the blocking wires in place as they did not give me as much flexibility with the final shape as I wanted.
However, wires had given me enough of a start on my shape that I could now add Blockers and Pins along the line where the wires were, before removing them.
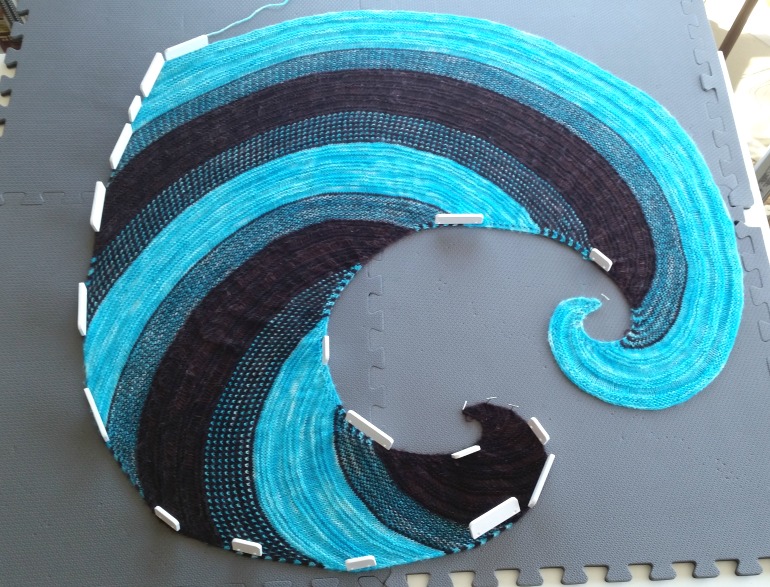
From this point on, I began using the Blockers and T-pins to fine tune the shawl’s shape.
What I like about the blockers is that they can cover a larger area than individual pins and they help to keep your edge straight. I also used them on the inner parts of the shawl to obtain even stretching.
Remember the Drop Stitch areas that I said earlier were “wavy”? The Blockers allowed me to pin the edges of one section and then pull in another direction to flatten out and shape the area.
I don’t have enough blockers for my entire shawl so what I do is get the shape the way I want it and then replace the Blocker with pins and re-use it on a different area.
But I do find that once I have stretched my shawl out to the correct shape, most of it will stay in place and doesn’t need to be anchored down.

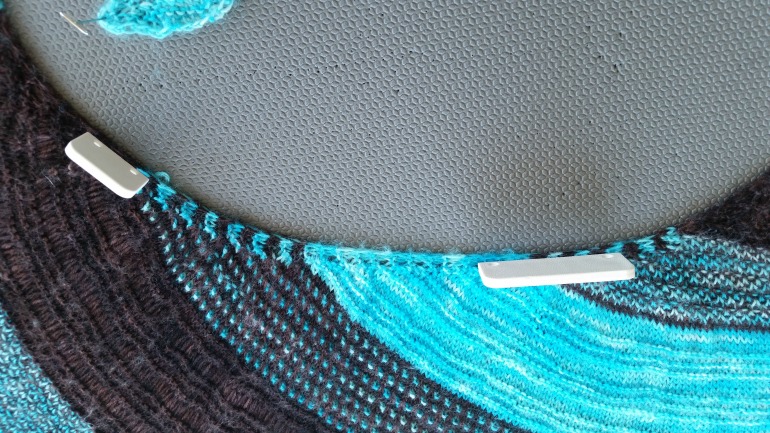

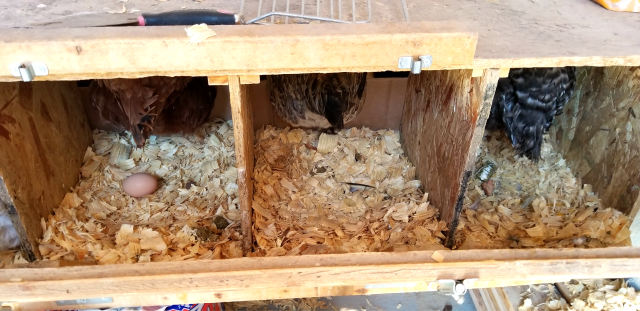
 >One caveat on that previous statement is I will leave pins/blockers in smaller areas such as the cast on edge as shown here.
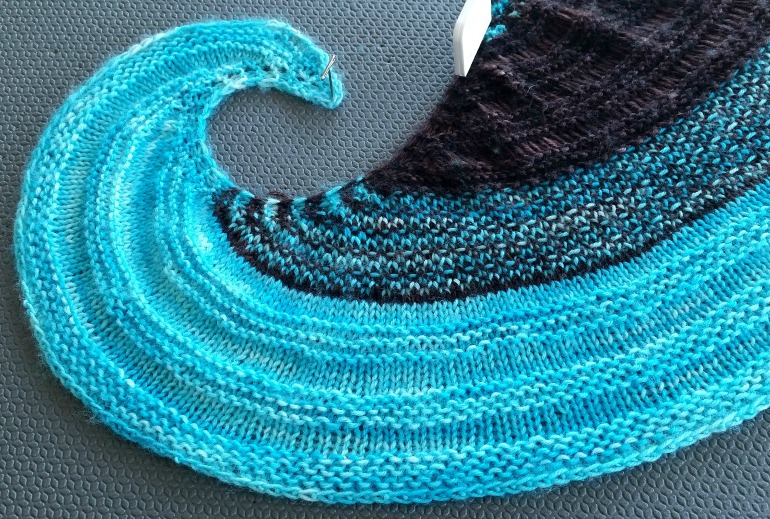
Once your shawl has dried, weave in any loose ends and enjoy wearing your lovely creation.
Until Next time, Happy Trails!

[ssba-buttons]
1 Comment
Home
About Us
Blog
Shop Our Yarns
Shop Knitting Patterns
Contact
Connect with Us
![]()
![]()
![]()
![]()
![]()
Knitting Sites I’m Loving
Watch Barbara Knit
Very Pink Knits
Grocery Girls
Ravelry
Knit Picks
New Stitch a Day
Lace Knitting Stitches
Picot Bind Off
Crescent Shawl Shapes
Russian Join
Joining in the Round
Youre amazing!!